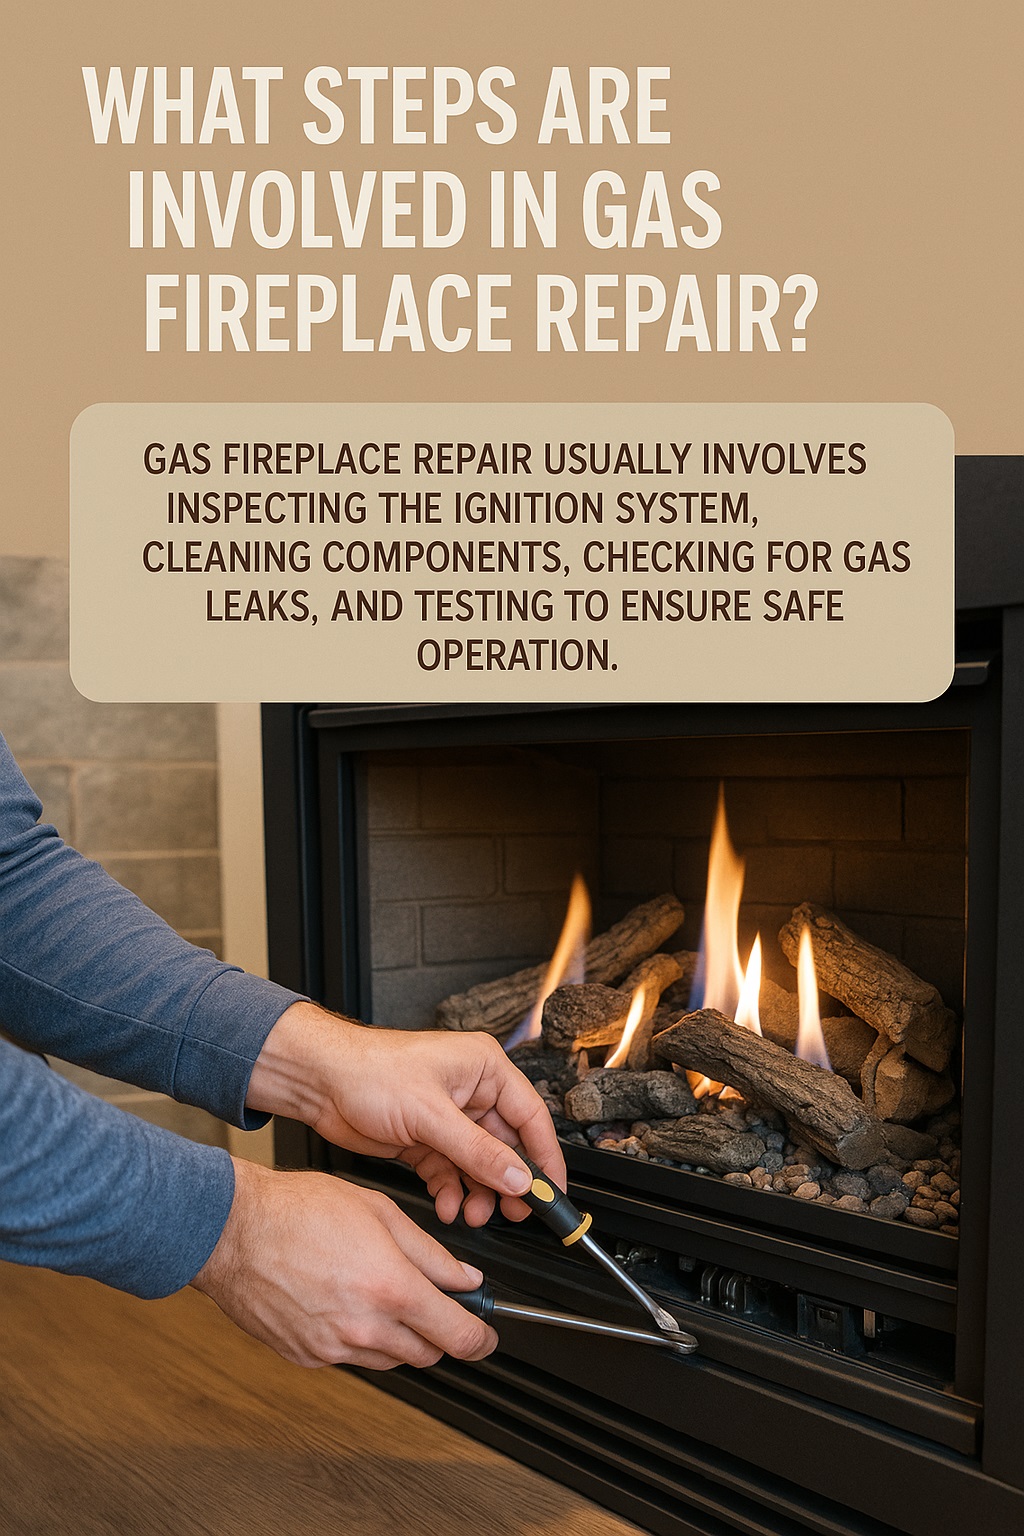
What Steps Are Involved in Gas Fireplace Repair?
Nothing quite matches the cozy comfort of a Gas Fireplace Repair, especially when chilly evenings roll in. But if yours sputters, won’t ignite, or just doesn’t seem right, you might be wondering what really goes on when it comes to fixing these modern-day hearths. Whether you’re the type who loves to tinker or you just want to understand what a pro will do, I’ll walk you through the real-world steps involved in getting a Gas Fireplace Repair back up and running. Grab a warm drink, settle in, and let’s break down the repair process in friendly, everyday language.
Starting with Safety and First Checks
Before touching anything, the number one rule is to make sure things are safe. I always start by turning off the fireplace and, if possible, shutting off the gas supply. This might seem obvious, but it’s easy to forget when you’re eager to get the fire going again. After that, I let the fireplace cool for a while, especially if it was recently used. Once things are safe to handle, I check for any strange smells—like the rotten egg odor that signals a gas leak. If I ever sniff out something off, I stop right there and call a professional because gas leaks are nothing to mess with.
After the basic safety steps, I give the fireplace a quick once-over. I look for obvious problems: cracked glass, loose parts, or soot collecting in odd spots. Sometimes the answer is as simple as a misplaced switch or a tripped breaker. I check that the pilot light is on, and that the remote or wall switch has working batteries. You’d be surprised how often a “broken” fireplace just needs a fresh battery or a gentle nudge.
Digging Deeper: Cleaning and Inspecting
If everything looks safe and the basics check out, I roll up my sleeves and get into cleaning mode. Dust and debris can build up inside the fireplace over time, especially if you haven’t used it in a while. I gently remove the glass front, being careful not to drop or scratch it. A soft brush and a vacuum with a hose attachment are my best friends for this job. I clean around the burner, pilot assembly, and logs (if your fireplace has them).
During cleaning, I pay close attention to anything that looks out of the ordinary—like rust on metal parts, or white, powdery residue that might mean moisture is getting in where it shouldn’t. If I spot anything weird, I take pictures to show a repair technician later. After cleaning, I inspect the gas line connections and make sure everything looks tight and in place. No loose pipes or wobbly bits allowed!
A little care today can save a lot of trouble tomorrow—especially when it comes to keeping your fireplace safe and warm.
Testing and Troubleshooting: Getting the Fire Back
Once the fireplace is clean and assembled, I move on to testing. I turn the gas back on, open up the valve, and try to ignite the pilot light. If it doesn’t light up, I double-check that the gas valve is open, and listen for the gentle hiss of gas. If there’s no sound or smell, the gas may not be reaching the pilot, which could mean a blocked line or a faulty valve.
If the pilot does light, but the main burner won’t stay on, I suspect the thermocouple or thermopile (the little sensors that tell the system it’s safe to keep burning) might be dirty or worn out. Sometimes, cleaning these sensors with a bit of fine sandpaper or replacing them entirely does the trick. I also make sure the wall switch or remote is sending a signal to the fireplace—sometimes the wiring can come loose, or the receiver needs a reset.
For persistent issues, I go through a simple process of elimination, checking one thing at a time. Here’s a quick table to show how I troubleshoot the most common fireplace problems:
| Problem | What to Check | Possible Fix |
| No flame at all | Gas supply, pilot light, batteries | Turn on gas, relight pilot, replace batteries |
| Pilot won’t stay lit | Thermocouple, dirty pilot | Clean or replace thermocouple |
| Main burner won’t ignite | Thermopile, wiring, remote/switch | Check connections, clean or replace parts |
| Strange smell or soot | Vent, logs placement, gasket seals | Clean vent, adjust logs, reseal gaskets |
Knowing When to Call in the Experts
While I enjoy a good DIY project, there are definitely times when it’s best to let a certified technician handle things. If I ever suspect a leak, notice a persistent gas smell, or run into electrical issues, I don’t hesitate to pick up the phone. Licensed pros have specialized tools to test for leaks, measure gas pressure, and replace complicated components safely. I also get a professional check-up for my fireplace once a year—just like a doctor’s visit—to keep everything running smoothly and safely.
If you’re ever unsure or uncomfortable with any part of the repair process, it’s always worth getting a second opinion. Peace of mind is worth a lot more than the cost of a service call.
Wrapping Up: Keep the Fire Burning Bright
Fixing a gas fireplace isn’t just about getting the flame back—it’s about making sure your home stays safe and comfortable. By following a thoughtful repair process—starting with safety, cleaning, troubleshooting, and knowing when to call in help—you can keep your fireplace in top shape for many seasons to come. A little attention now and then goes a long way toward those warm, glowing nights we all love. So next time your fireplace acts up, you’ll know exactly what steps to take to get things cozy again.
Stay warm, stay safe, and remember: Gas Fireplace Repair is always here to help when you need us!
Read More: Chimney Sweep
Related Posts

Spectrometry Market Strategy Guide: Unlocking Success in a High-Growth Sector

Automated Visual Field Analyzer Market Analysis 2033: Top Drivers, Players, and Predictions
