What Tools for Installing Under Cabinet Lighting Beverly Hills?
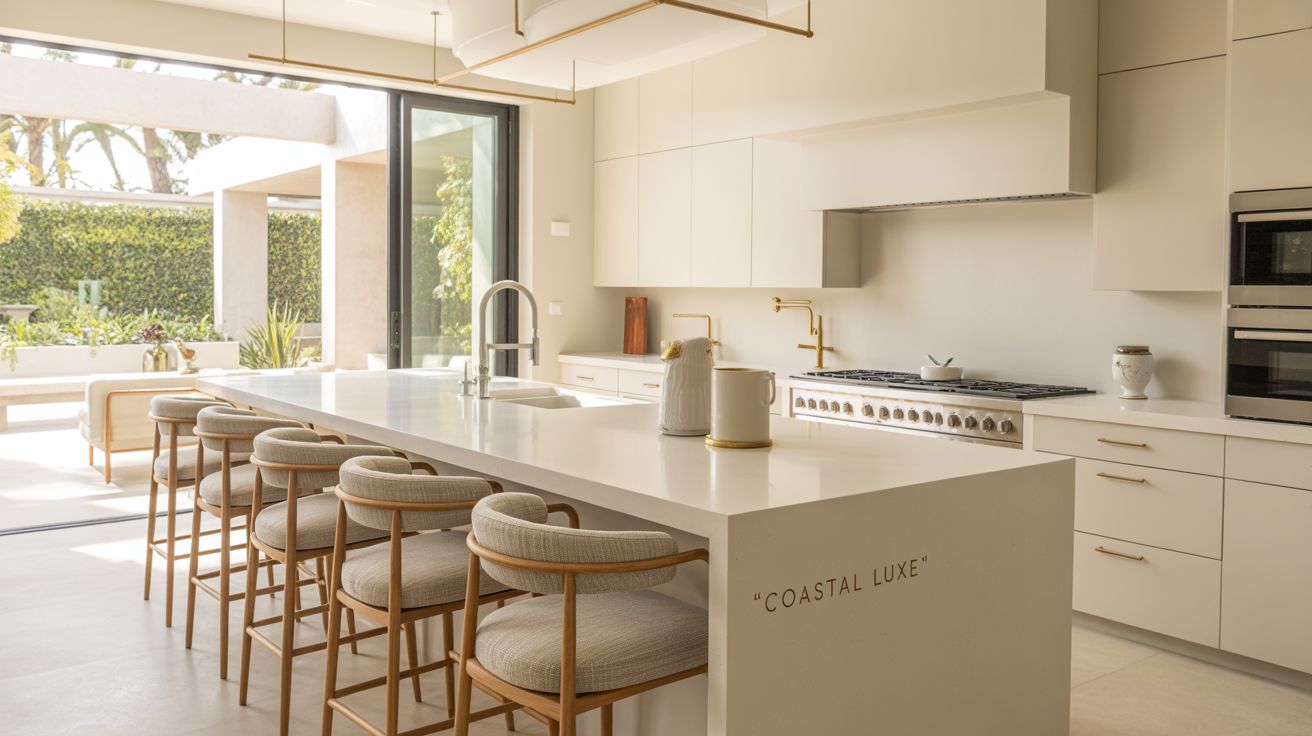
Imagine prepping dinner in your kitchen, but instead of squinting under the shadows of upper cabinets, your workspace is bathed in a clear, gentle light. That’s the magic of under cabinet lighting! If you’re living in Beverly Hills and eyeing a kitchen glow-up, knowing which tools you’ll need for this project is half the battle. Today, I’ll walk you through my own toolkit and tips, perfect for beginners, DIY enthusiasts, or anyone working with a pro like Beverly Hills Kitchen Remodeling. Whether you choose LED strips, puck lights, or light bars, Installing Under Cabinet Lighting is much easier with the right gear.
Essential Tools: The Must-Haves Before You Start
Let’s be honest—having the right tools makes any project smoother. For under cabinet lighting, you don’t need a toolbox as big as your fridge. Here’s what usually sits on my kitchen counter before I start:
| Tool | What It’s For |
|---|---|
| Measuring Tape | To figure out exactly how long your light strips or bars need to be, and to plan placement. |
| Pencil | Mark drilling spots and where the lighting will go. (Trust me, you don’t want to guess!) |
| Drill & Bits | For making holes to mount your lighting or run wires discreetly. |
| Screwdriver | Tightening screws on mounting brackets or covers. |
| Wire Strippers | If your lighting isn’t plug-and-play, these help strip insulation for neat wire connections. |
| Level | Keep your lights straight so your kitchen looks sharp and professional. |
| Adhesive Clips or Mounting Tape | For stick-on LED strips or light bars (sometimes skips drilling altogether!). |
| Voltage Tester | Safety first! Check if wires are live before handling electrical lines. |
| Cable Staples or Wire Covers | Keep wires neat and hidden along cabinet edges. |
“Good lighting changes not just the look of your kitchen, but the whole vibe. The right tools make it way less stressful.”
Prepping Your Space: Don’t Skip This Step!
I get it—you’re eager to see those new lights in action. But rushing into the install without getting your workspace ready is a recipe for headaches. First, clear off your countertop so you have room to maneuver. Next, wipe down the bottom of your cabinets. Adhesive tapes and mounting clips won’t stick to dusty or greasy surfaces.
If your lighting kit needs wiring through cabinets, I recommend laying out all your lights and cords first. Use your measuring tape to double-check lengths and make faint pencil marks where each light will go. And don’t forget—if you’re dealing with electrical connections, always cut the power at the circuit breaker. (Safety isn’t optional!)
Looking for other ways to freshen up your kitchen? Check out our cabinet refacing services, backsplash installation, and custom countertop upgrades for more inspiration!
Wiring Made Easy: Simple Tricks for a Clean Look
Even if the thought of wires and circuits makes you nervous, installing under cabinet lighting doesn’t have to be scary. Many modern kits are plug-and-play, so you just stick or screw the lights in place and plug them into an outlet. But if your setup involves hardwiring, here’s how to keep things simple:
- Measure and Cut: Use your wire strippers to reveal just enough copper for a secure connection—too much can get messy.
- Hide the Wires: Cable staples and wire covers are your friends. They keep cords snug against the cabinet and out of sight.
- Keep It Level: Use your level as you go along, especially if you’re mounting multiple bars or strips. Crooked lighting distracts from your beautiful kitchen!
If you’re unsure about handling wires, don’t hesitate to call a pro. Sometimes peace of mind is worth the investment.
Finishing Touches: Testing and Tidy-Up
Once everything’s installed, don’t forget to double-check your work! Power up the lights and make sure every section glows evenly. Walk around the kitchen to spot any dark corners or glare. If you see loose wires or crooked fixtures, now’s the time to fix them. Clean up any pencil marks and enjoy your new setup!
You might find that a few extra adhesive clips or a wire cover along the backsplash helps polish the look. A little attention to detail goes a long way, especially in a Beverly Hills kitchen where style is everything.
Frequently Asked Questions
Q: Can I install under cabinet lights without drilling?
A: Absolutely! Many LED strips and lights come with strong peel-and-stick backing or adhesive mounts, so you can skip the drill if you like.
Q: Do I need an electrician for this job?
A: If your lighting kit plugs into an outlet, most handy homeowners can manage it solo. But for hardwired setups, or if you’re not confident with electrical work, call a pro to keep things safe.
Q: What’s the best type of under cabinet lighting?
A: It depends on your needs! LED strips are flexible and easy to hide, puck lights give focused beams, and bars offer even illumination. Consider what fits your cabinet space and how much light you want.
Q: Can I dim under cabinet lights?
A: Many modern kits include dimmers, or you can add an inline dimmer switch for extra control.
Conclusion
Installing under cabinet lighting in Beverly Hills kitchens can feel like a big leap, but with the right tools and a bit of patience, it’s totally doable—even for beginners. Gather your tape measure, screwdriver, and a steady hand, and you’ll turn those dark corners into beautiful, practical spaces in no time. If you ever feel stuck, remember the friendly experts at Beverly Hills Kitchen remodeling are just a call away. Ready to brighten up your kitchen? Your tools are waiting!
Read More : Beverly Hills Kitchen Remodeling
Related Posts

Spectrometry Market Strategy Guide: Unlocking Success in a High-Growth Sector

Automated Visual Field Analyzer Market Analysis 2033: Top Drivers, Players, and Predictions
